High Dynamic Range (HDR) vs. Exposure Blending: Which Is Better?
In landscape photography, we often encounter high-contrast scenes with both very bright and very dark areas - for example, a sunset with a darker foreground. Under these conditions, it can be difficult to capture the full tonal range in a single image. One solution is to shoot a series of bracketed exposures (both overexposed and underexposed) to expand the dynamic range of our scene.
The easiest method is to mount your camera on a tripod, select your desired composition, and capture three images: one at correct exposure (0 stops), one overexposed (+2 stops), and one underexposed (−2 stops). While three images at ±2 stops generally work well, other variations are possible, such as a five-shot bracket at −4, −2, 0, +2, and +4 stops. If I'm shooting handheld without a tripod, I typically shoot just two images: one at 0 stops and one at −2 stops.
Once you have your RAW files captured at various exposures, you can merge them in Lightroom using Photo → Photo Merge → HDR. You don't need to edit the images beforehand; Lightroom uses the original RAW data to generate a new DNG file with significantly greater dynamic range than any single exposure.
An alternative approach to HDR merge is “exposure blending”. This technique involves capturing the same images as above; however, the blending is done in Photoshop using masks or luminosity masks. All you need to do is slightly edit each image in Lightroom or Adobe Camera Raw, then bringing them into Photoshop as layers. Using layer masks, you selectively combine the best-exposed portions of each image to produce a final photo with no blown-out highlights or crushed blacks - resulting in a more evenly toned image.
Here are some examples where both approaches (HDR and exposure blending) have been applied to the same high-contrast scene.
In my experience, Lightroom's HDR merge produces excellent results - provided there aren't too many moving elements between shots (e.g., leaves, water, or people), which can cause ghosting. The advantage of HDR merge is that it is fast and works well in most situations. However, there are also cases where Lightroom's HDR merge simply fails to align or process the images. In those situations, you can often still bring the files into Photoshop as layers, align them, and successfully apply exposure blending instead.
Exposure blending can yield equally good results, though it requires more manual effort. However, it also offers greater control over tonal adjustments. I find exposure blending very useful when HDR merge is not successful in producing a high dynamic range file.
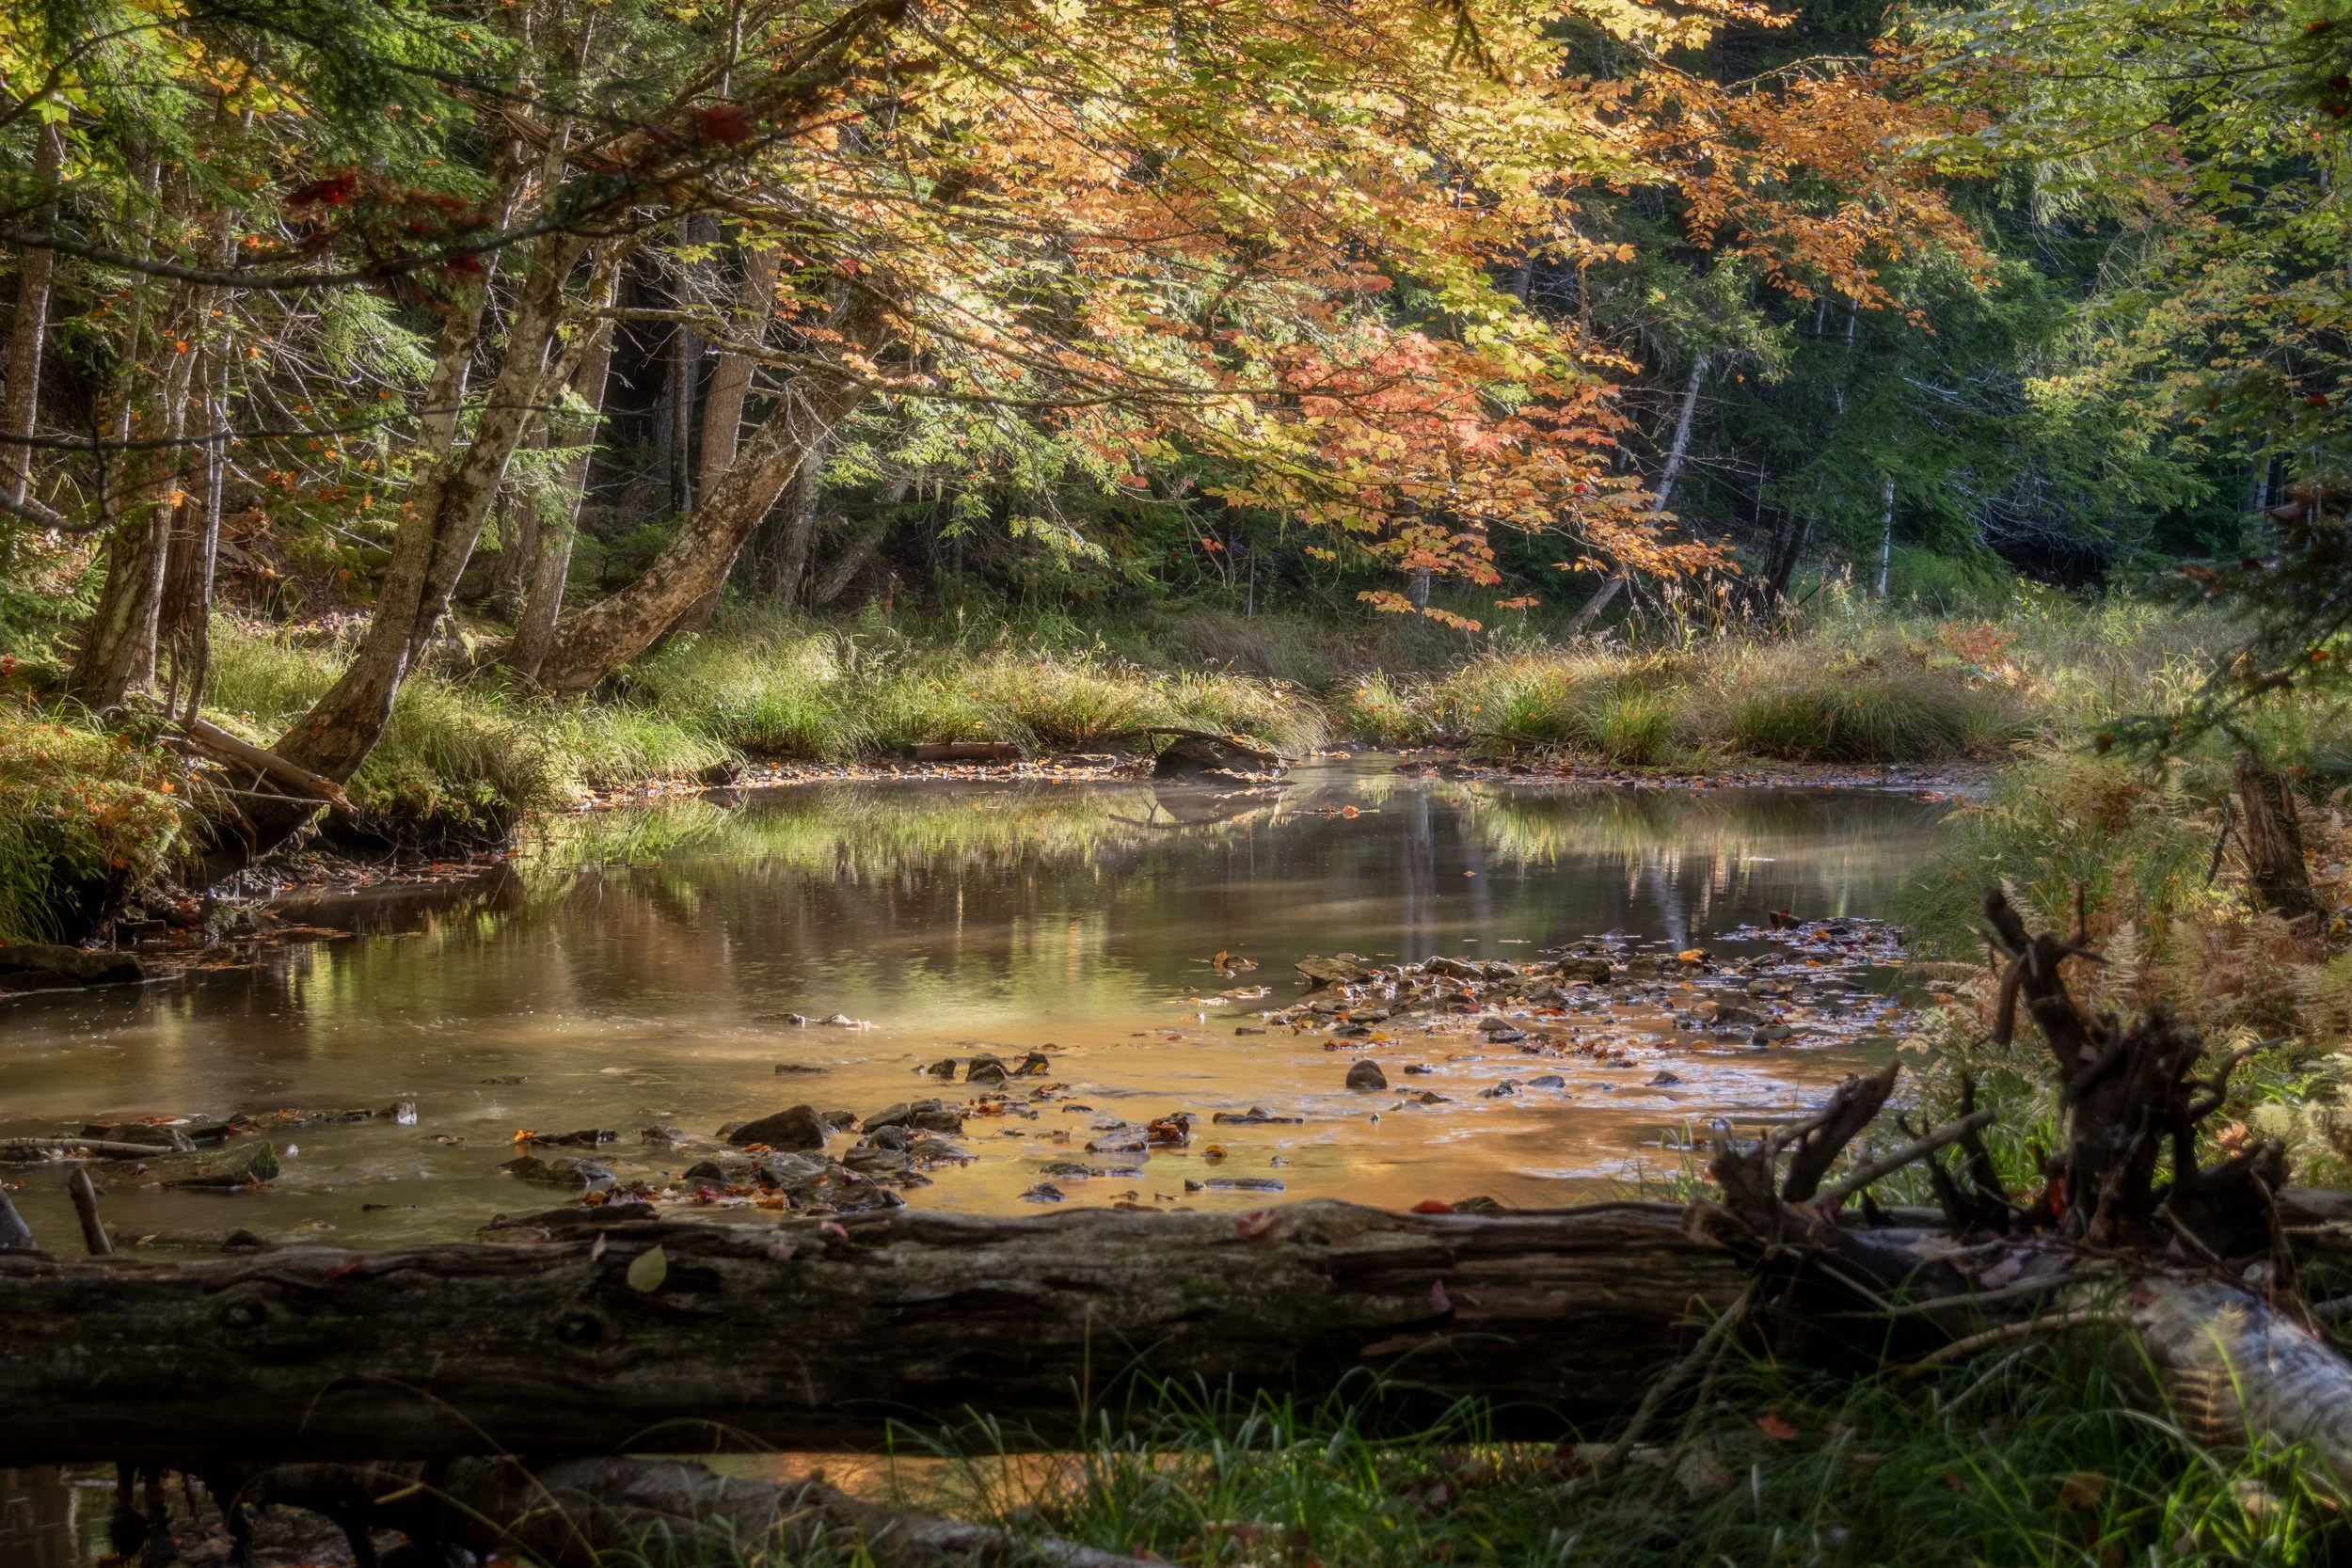
This image is a HDR processed image in Lightroom using 3 bracketed exposures (-2, 0 and +2 stops)
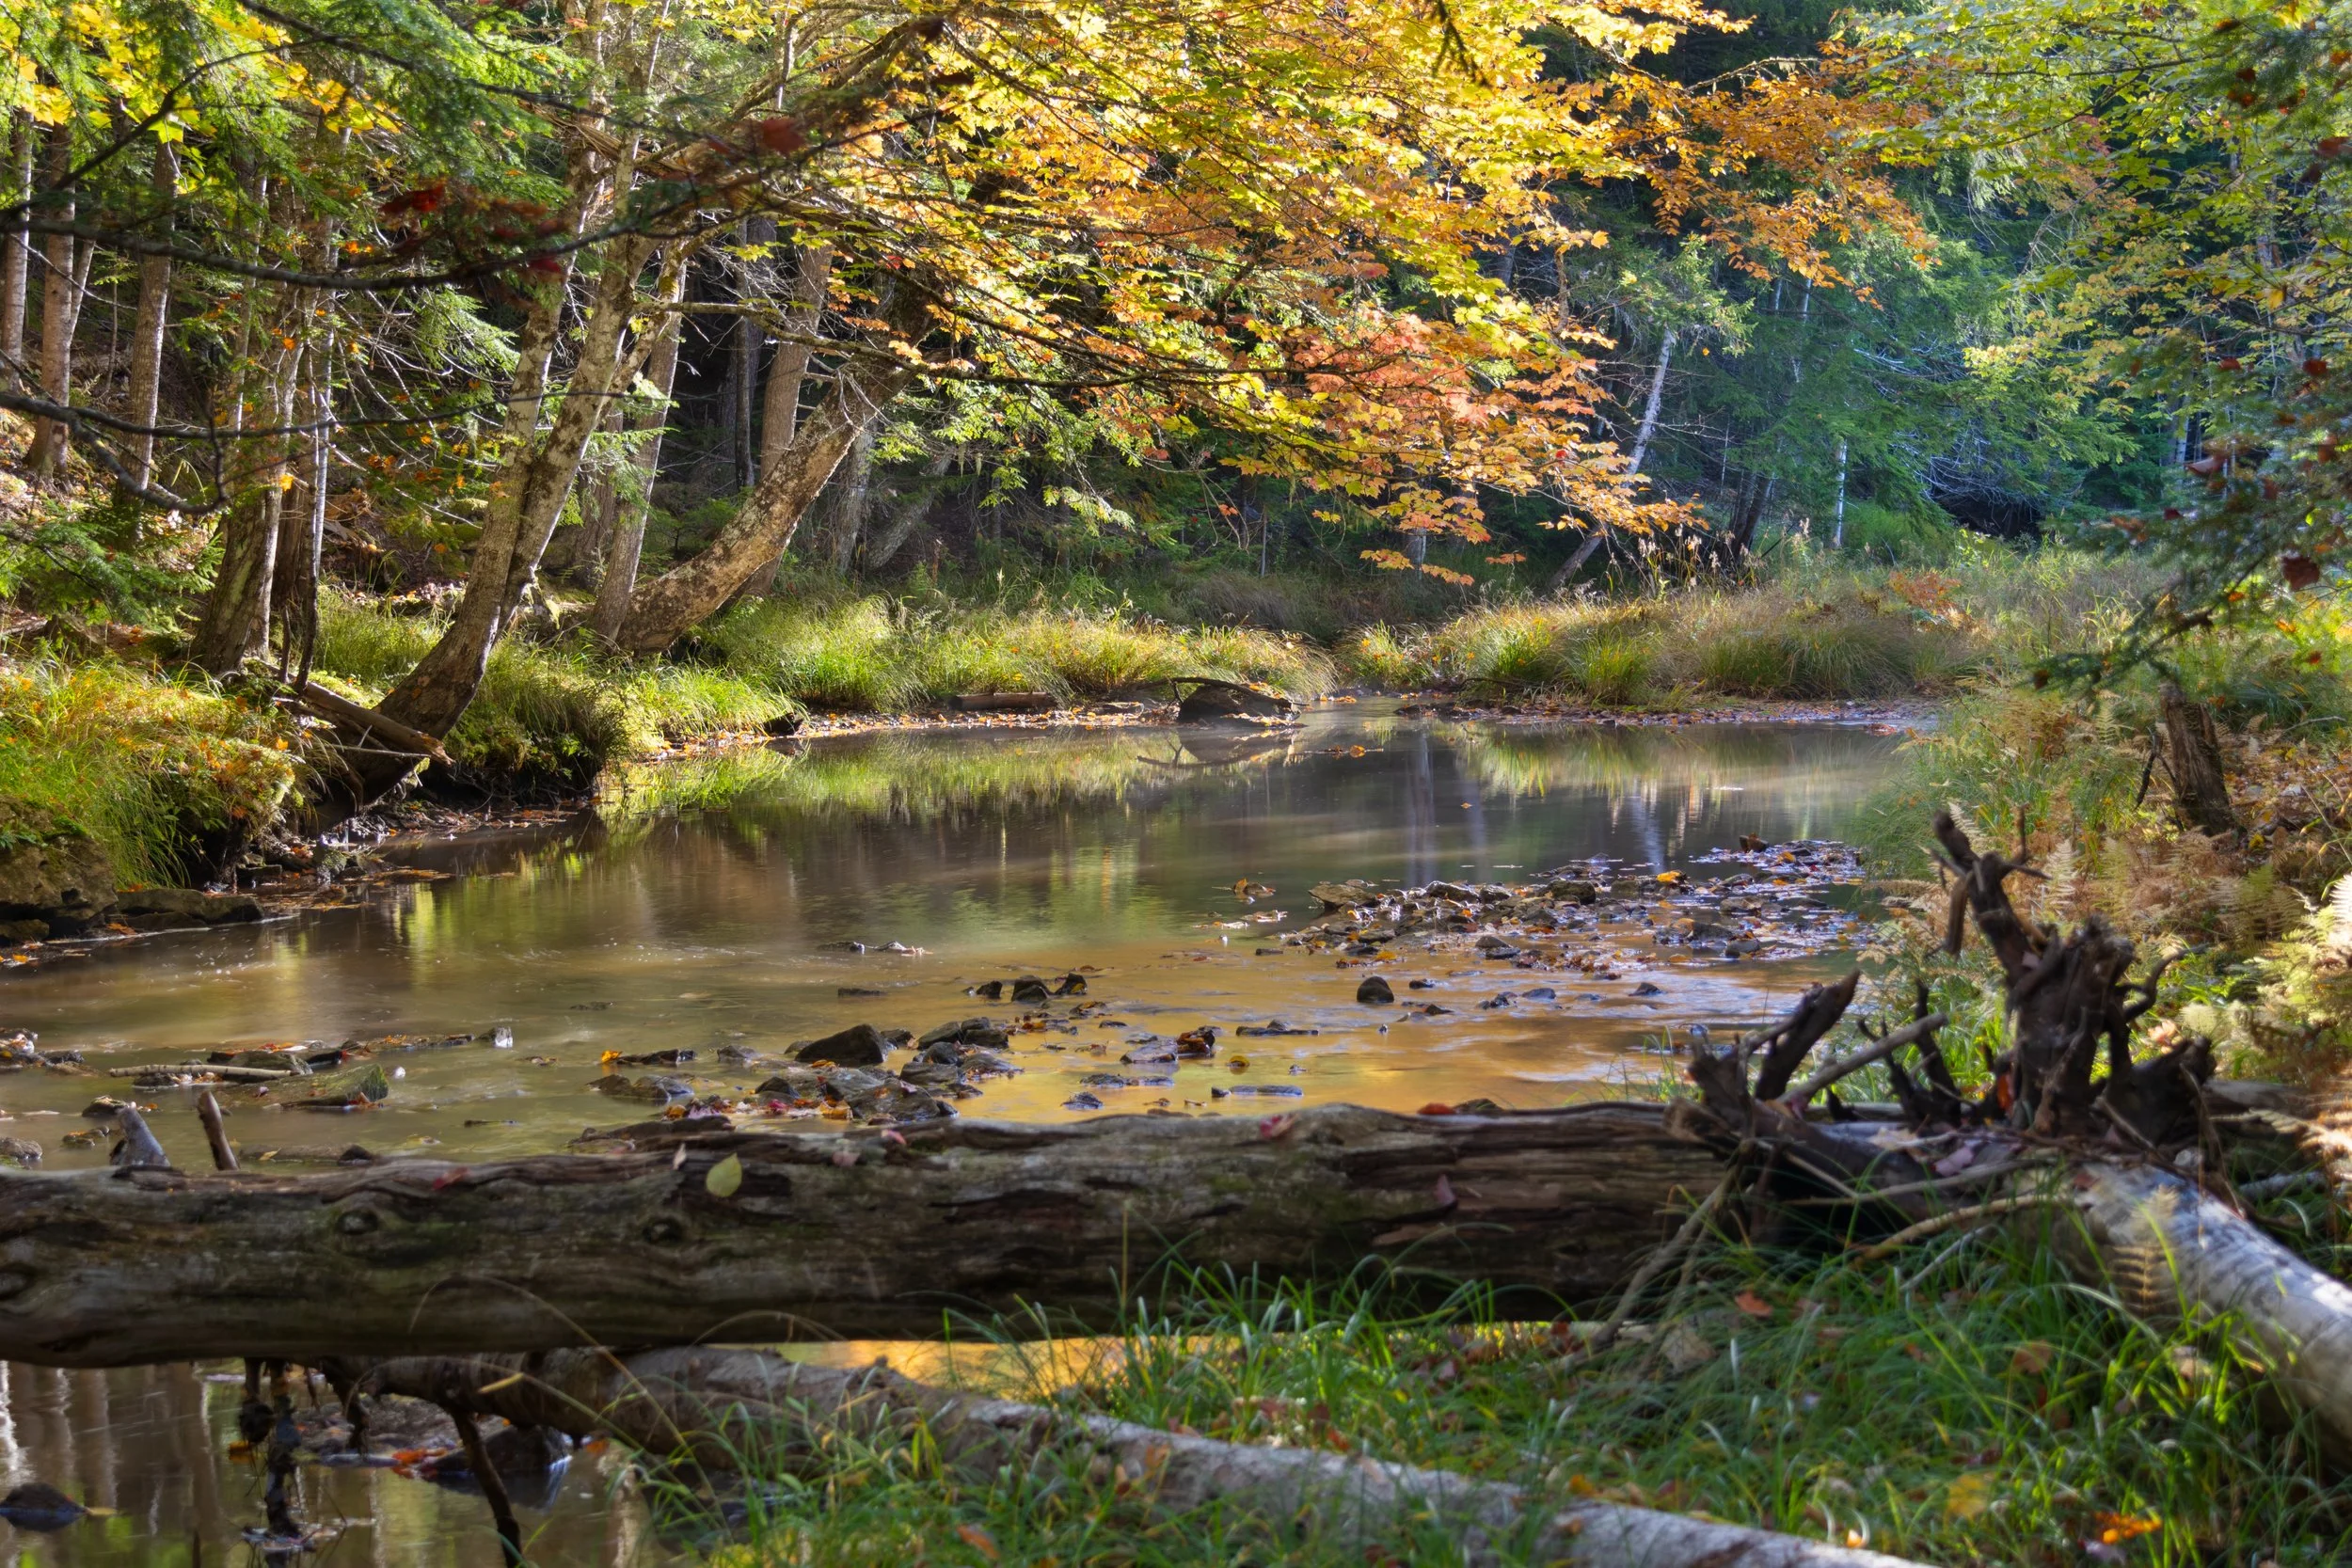
This image was edited using the exposure blending technique described above from 3 bracketed exposures (-2, 0 and +2 stops), i.e., same exposures as the above HDR images
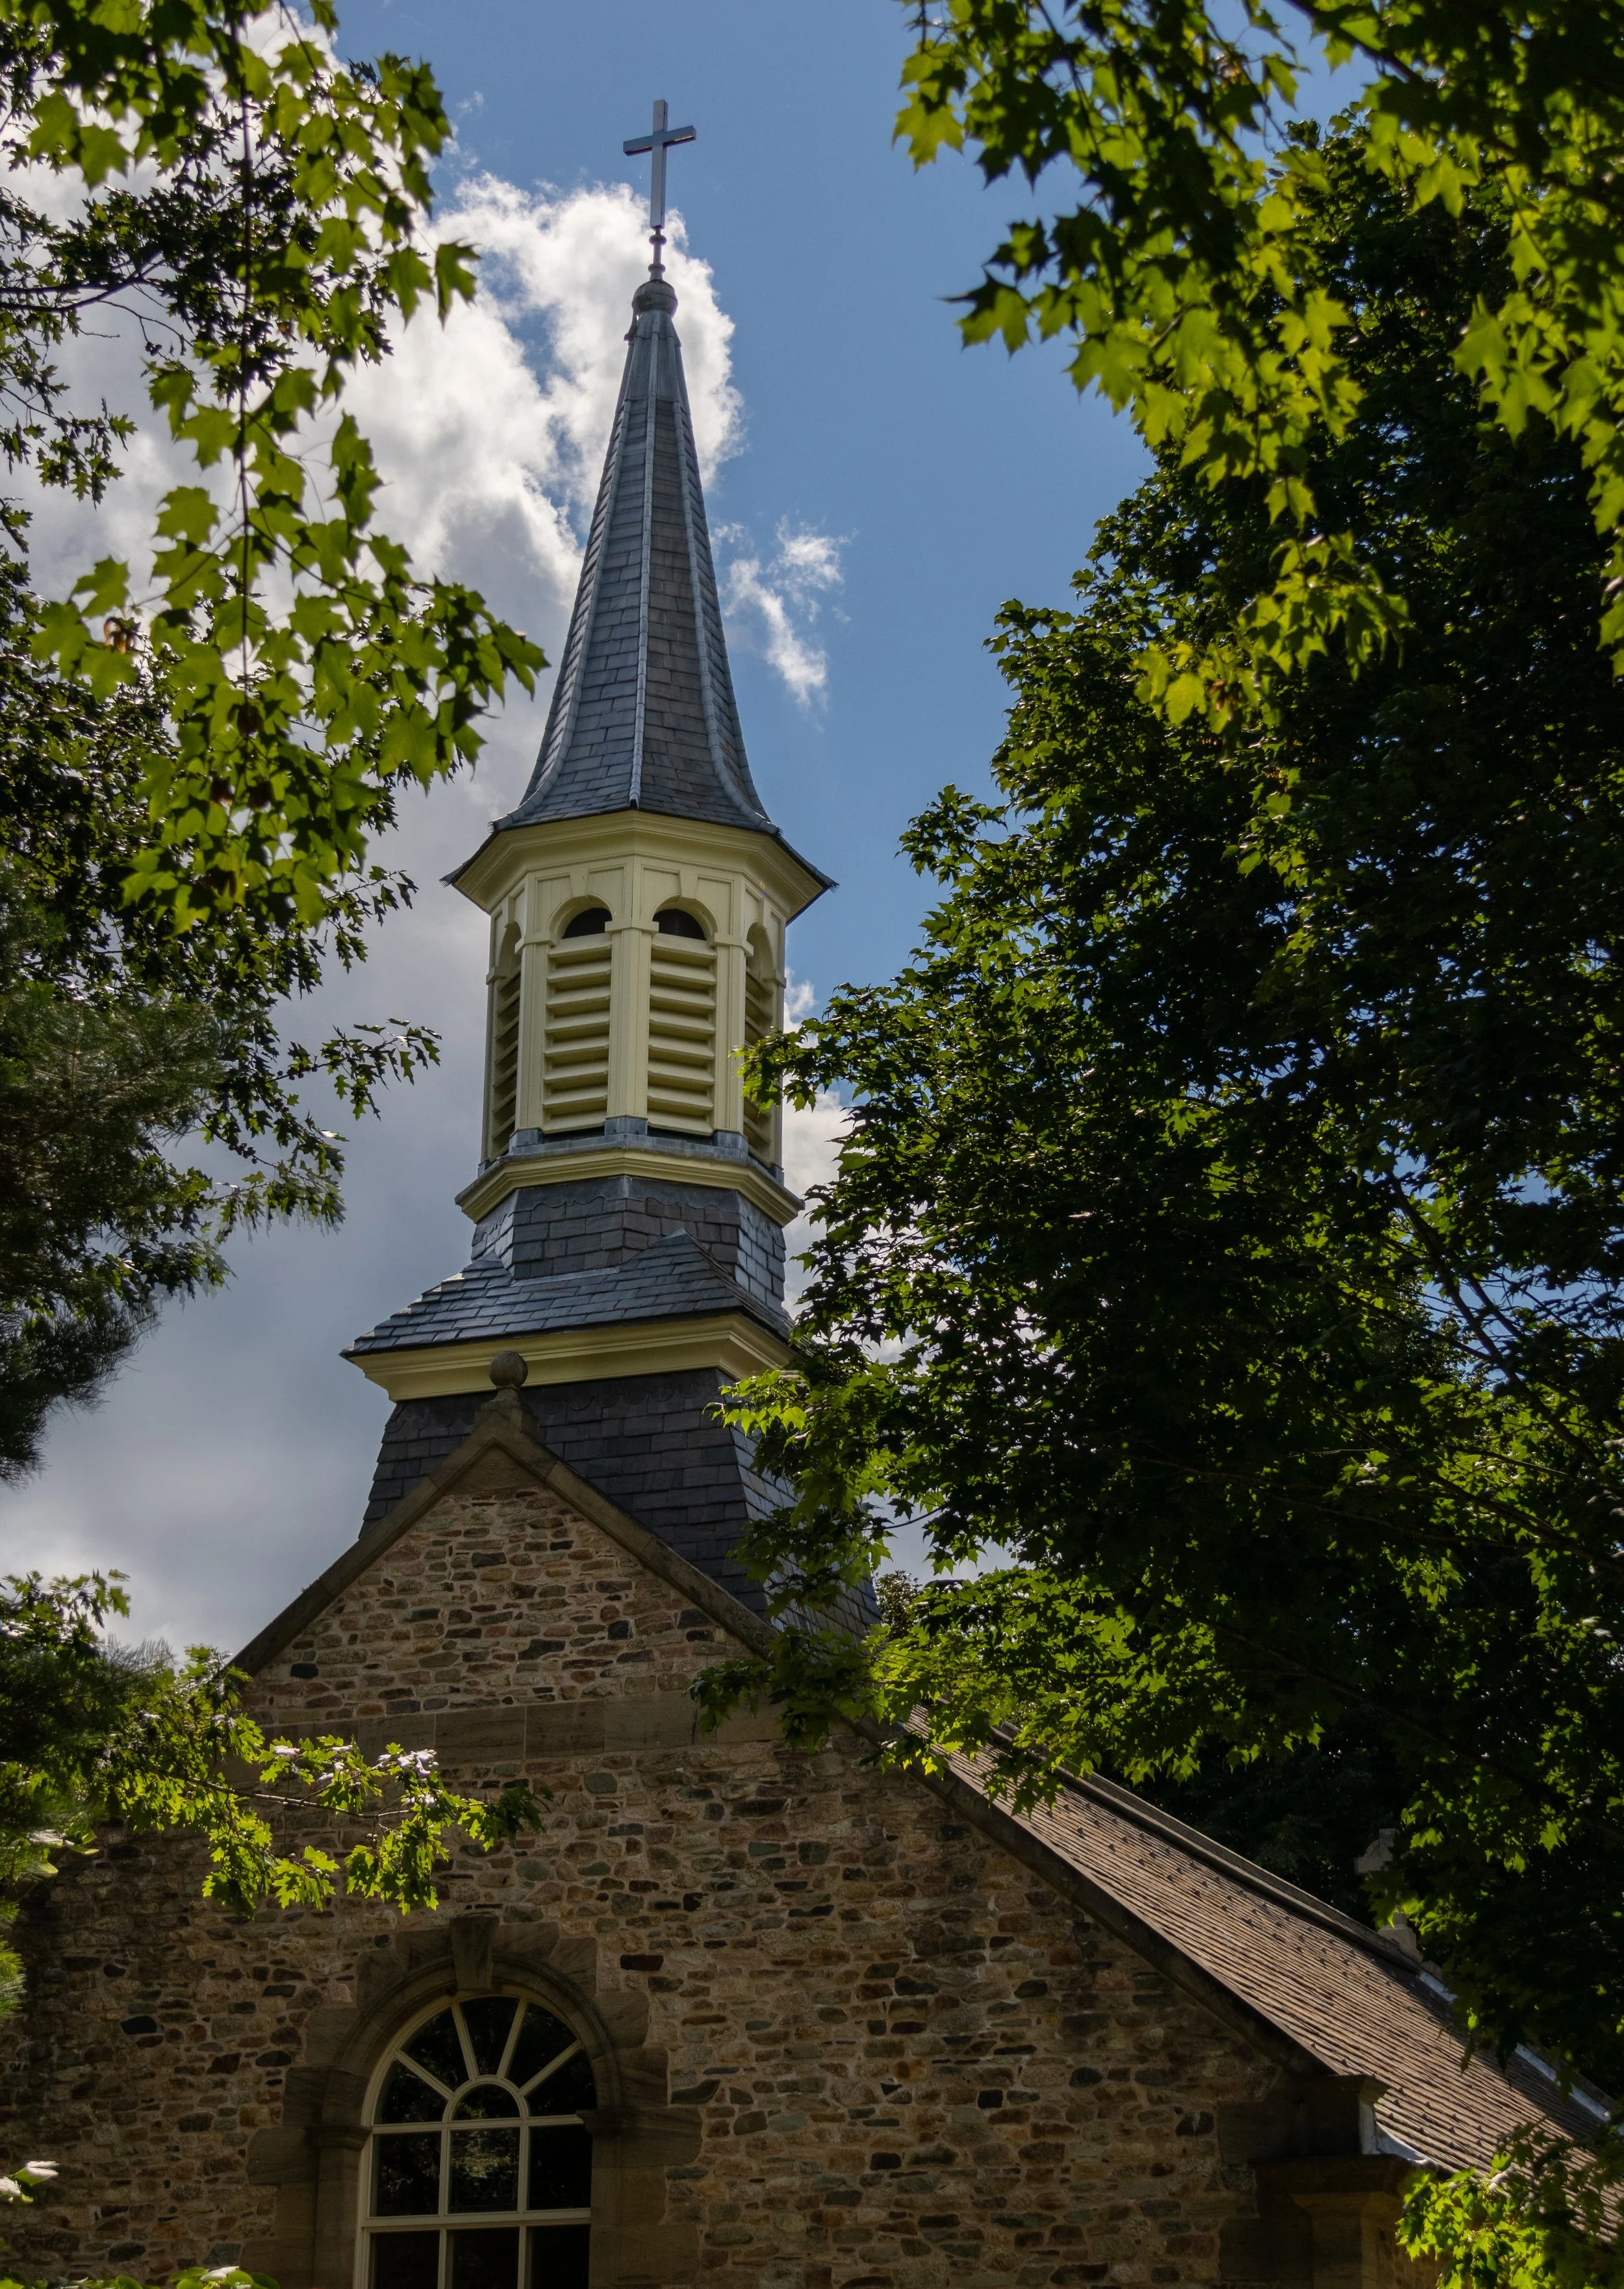
This image was edited from two bracketed exposures (one at 0 stop, and the other at -2 stops). Lightroom was not successful in merging the two bracketed exposures, therefore the exposure blending technique in Photoshop was used to obtain the above image. The sky and the trees were used from the underexposure image whereas the church was used from the correctly exposed image
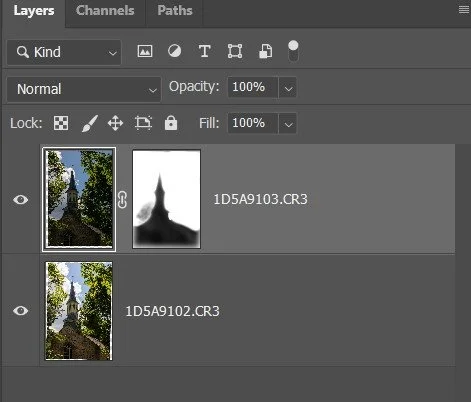
This Photoshop layer panel shows a very simple mask that was used to combine the two images.